Now to add the wire array around the globe. I think this is to protect you from accidentally burning your hand, or possibly to protect the globe from getting cracked by banging up against something. Either way, this is what I’ll be working on for the moment. Interesting to think I’ve been working on this for how long now? I hope I can get it finished up before too much longer.
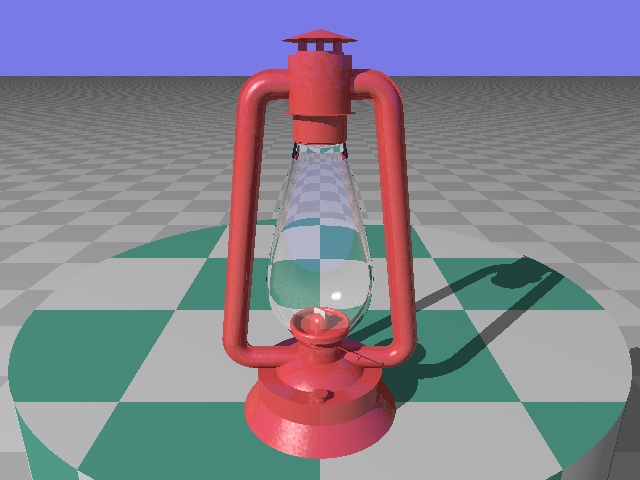
So I finally got around to updating the textures and finishes, gave it a bumpy pattern to the normal vector, and added a bit of polish to the globe. Although, now that I think about it, I could add a bit of a bumpy or rippled tweak to the globe’s normal as well, it looks a bit too smooth, especially compared to the body of the lantern.
Still have to add in the wires around the globe, and if I’m feeling particularly adventurous, the mechanism to lift the globe. We’ll see.
And just remembered the detailing to add to the top section; there is a line of holes right near the globe that I put some code in for, but it’s still commented out at the moment. Well, another day, I guess.
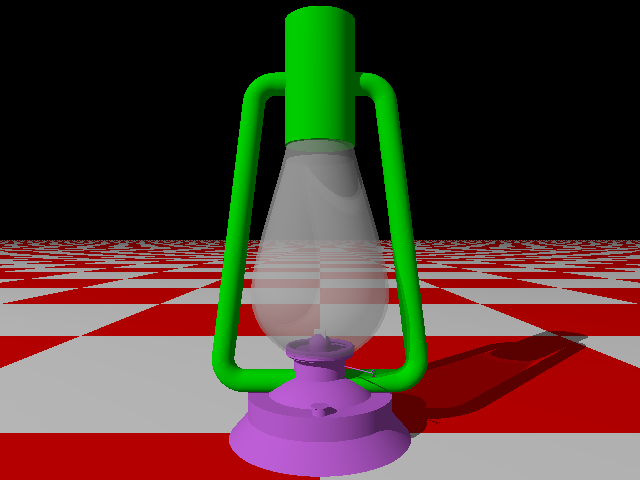
Well, a bit more work, and now most of the top is defined. I tried setting up the controlling variables so that they’d all add up to the top height that I had previously defined, so at least it will stay inside the spaceclaim I had set out for that part of the lantern. Now I just have to get the proportions right. And fix the globe’s top width to match the top section’s bottom width.
Not much different from the last post, but a bit closer to completion.
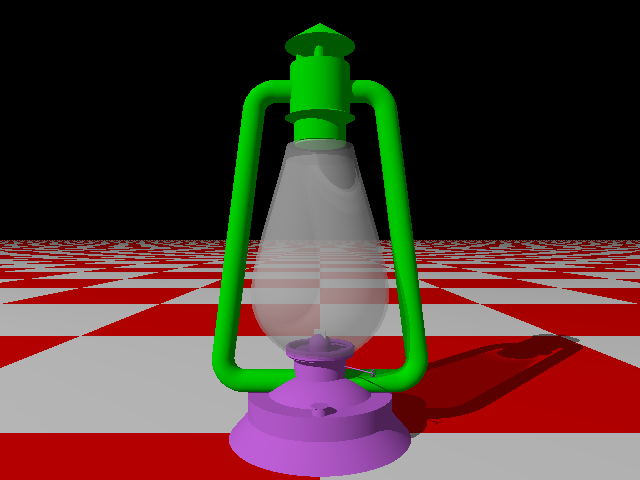
Well, after a lot of tweaking, I think the base is pretty much done. I added the fill cap, the wick, and a small adjustment knob for the wick height. I think there is one detail that needs to be added to the side-pipes, but for the moment, I’m moving on to the top section to try and get it detailed.
Not a lot of progress on my current raytrace; I managed to finish the wick detailing, but still need to add in the adjustment knob for the wick before moving on to the top assembly.
I took another look through the POV-Ray people pages, to see if I could find any other pages that hadn’t gone the way of the dodo, and found one that might be worth browsing through, Warp’s homepage. It looks like it hasn’t been updated in a while, but it has a bunch of renderings, and a few tips for improving a POV-Ray scene.
Just a link to a POV-Ray user’s website. I was browsing through the “People Pages” section of the POV-Ray homepage, and most of the links were dead. Pretty sad, so I thought I’d post another link, so I could at least find the sites that are still in existence.
And if anyone else is looking for active POV-Ray sites, they’ll be able to find them as well.
Well, finally got back moving on this. I modified the globe object, using a lathe instead of a sphere. This way looks like it yields an uneven wall thickness, though. I tried a difference of two lathe objects earlier; I might go back to using that.
Achievement unlocked – “I feel so included” – create your first include file
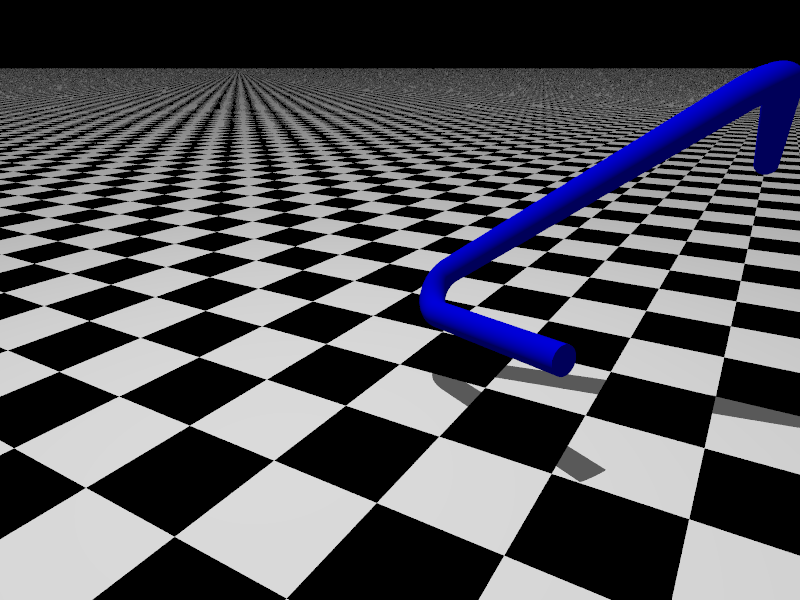
Ok, so the picture doesn’t look that impressive, but the include file is pretty useful. It will create a series of cylinders between an array of points, but will round the corners using toroidal sections as seen above.
Of course I had to get sidetracked. Trying to make a gas lantern, and decided to make something to create a path defined by a set of points, but with rounded corners. Yeah, you could use a spheresweep object, but that doesn’t use a constant radius unless you go with a linear sweep, but that doesn’t give the effect I want.
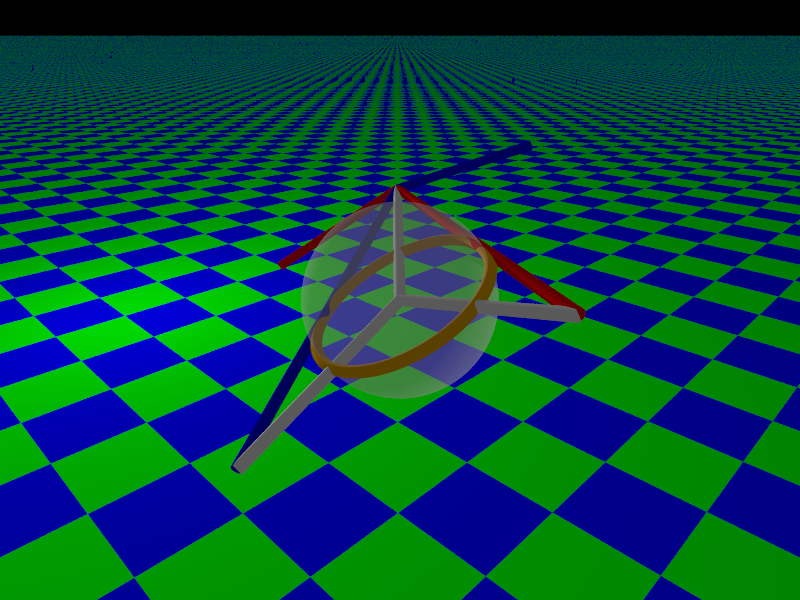
I worked out the math to define the location of the round, which looks correct. The math to define the rotation angle didn’t work out quite as well. I wonder whether it is rounding error?
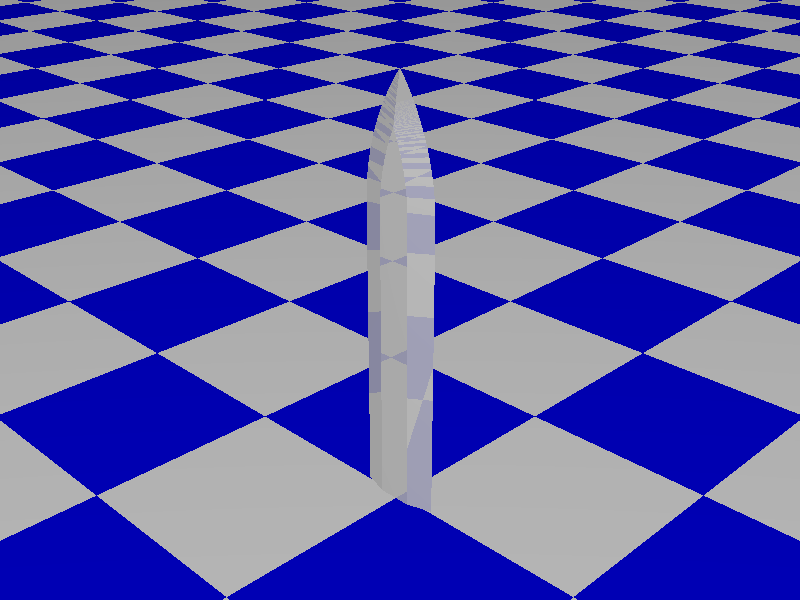
It took some doing, but finally it’s done. I tried to keep it simple, and it still took a while to get everything just right. Looks like I have a long way to go before I really get good at this.
Also, I’m not sure that it was a complete success from a scripting standpoint, since one of the original goals was the reuse of points. The prism objects that make up the body of the blade had their cross sections defined by a set of points, which I had hoped to reuse to define the cross sections of the lathe objects making up the tip of the sword. Instead, I ended up having to define new points for the lathe. Oh well, it worked.
It was a bit of a struggle to get even this far. Partly because I’m lazy, and partly because this does not use a modeler. Every component of the image has to be accounted for in the script. I had to figure out the math to make sure the tip was tangent to the blade. Thankfully it didn’t take too much work, but you wouldn’t expect making an image to involve debugging to figure out what went wrong.
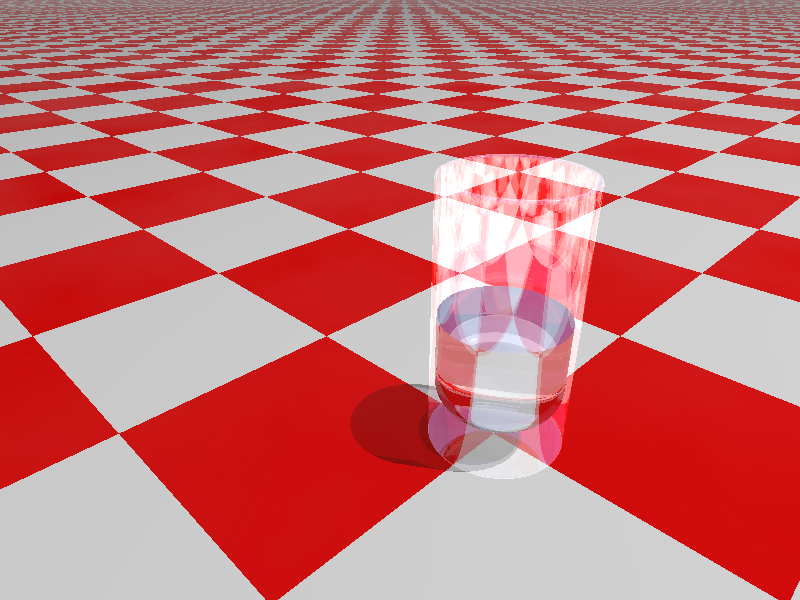
I just saw a link on the POV-Ray newsgroups about modelling the glass/water interface. It mentioned the double-reflections that I have been seeing in the glass of water I’ve been rendering, so this might be useful. Mostly I’m posting this to remember it for later.
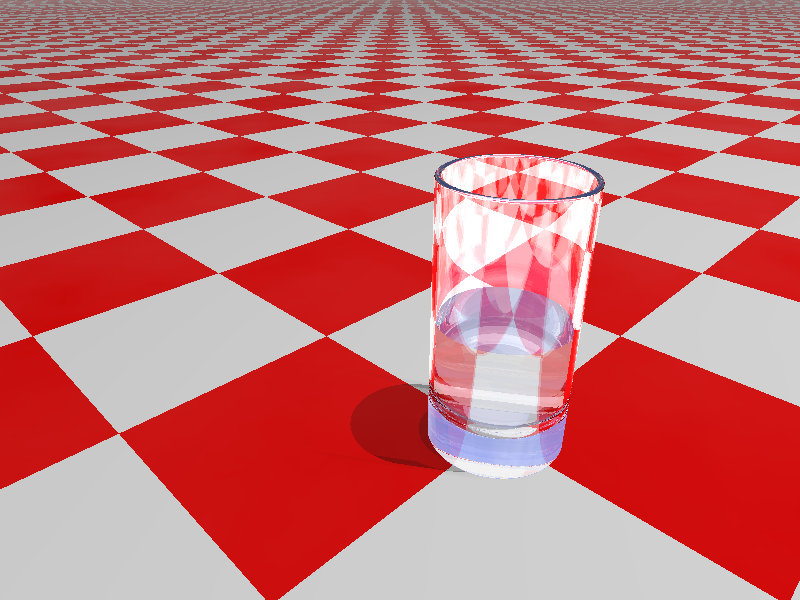
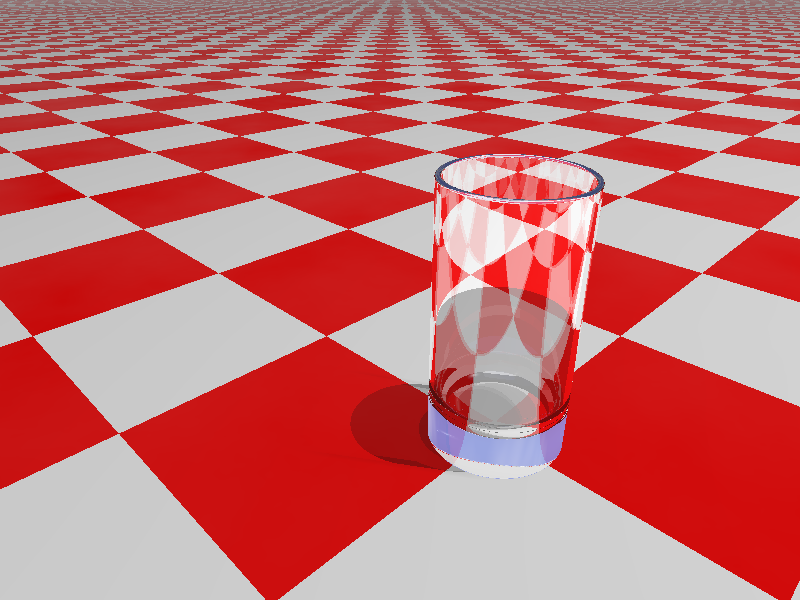
After a bit more hair pulling and reading through the newsgroups, I finally found the problem. I had used the parameter “max_intersections” in global_settings, but should have used “max_trace_level” instead. I used a value of 10, but it looks like 7 or 8 will work as well. I think the reflections still look a little odd, though.
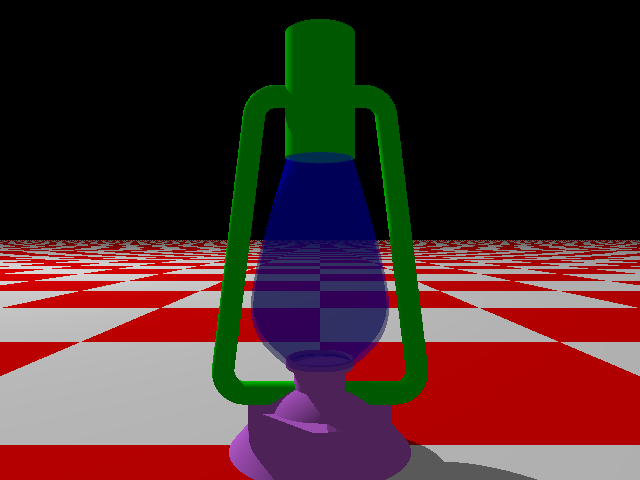
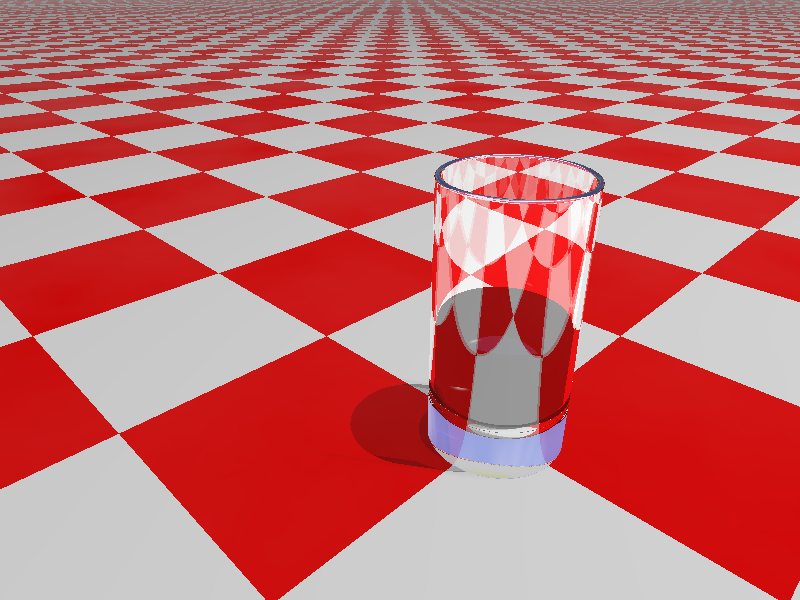
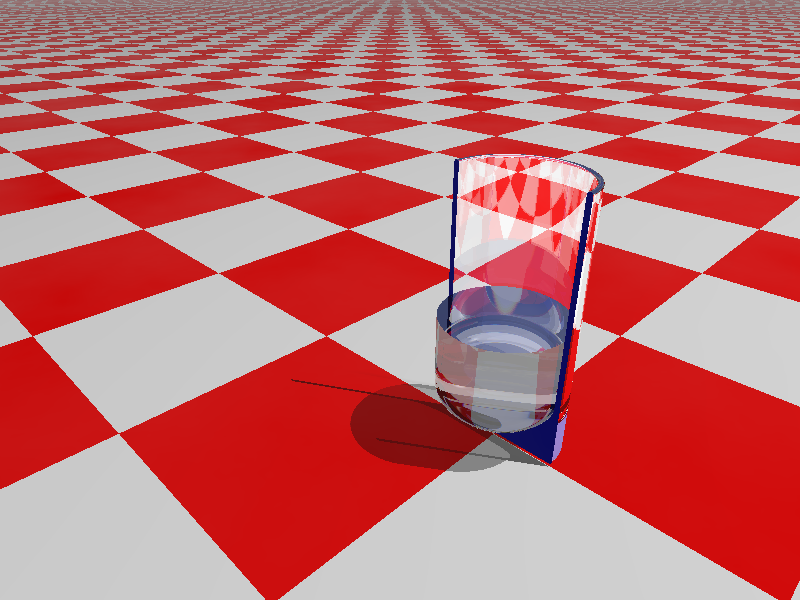
I decided to add water to the glass from my last post. You would think that would be simple, but it came out black. I made a cutaway of the glass just to make sure that the water itself wasn’t to blame.
I know that Pov-Ray shows coincident surfaces in an odd, randomly speckled texture, because of rounding errors, but this is just straight black. My first thought was that it had something to do with the number of surfaces that each test ray intersects after being shot out from the camera, but even setting the max_intersections parameter as high as 80 did nothing.
Now time to do some research on the POV-Ray newsgroups, maybe a couple other websites, and try tweaking the material properties of the objects.
Update: I removed the ior statement from the drinking glass, and then from the water object, which removes the problem, but they don’t look right without the ior. Interesting, but still not quite helpful.